Hiddify Next is a powerful proxy tool that supports more than 20 proxy protocols for circumventing regional internet blocks, enabling free internet access. This article will use the macOS desktop version as an example to detail how to configure the Hiddify Next client.
Download and Install Hiddify Next
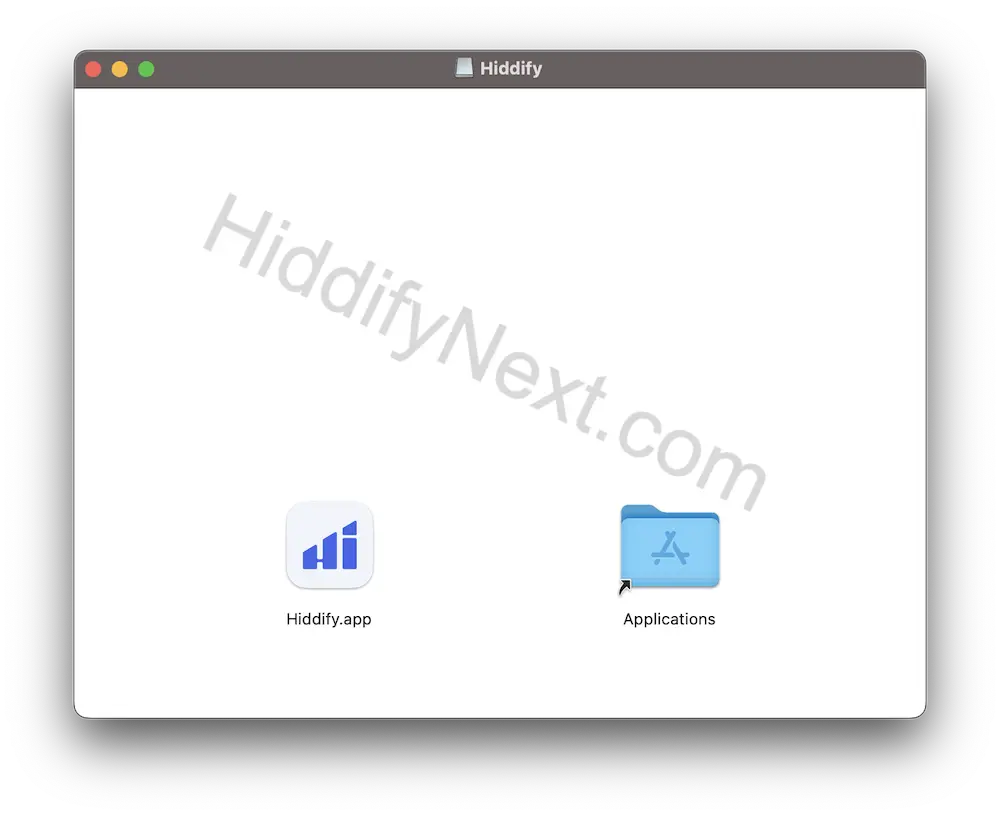
Find the software for your operating system in the download area of the homepage. Then proceed with the installation. The image below shows the macOS installation page, where you can drag the app into the Applications folder to install.
If you receive a message saying "Hiddify.app" can’t be opened because Apple cannot check it for malicious software, you can open the Privacy & Security page in System Settings and choose to open it anyway to run the application.
Prepare a Proxy Node
Hiddify Next is just a client tool; it requires a proxy server to achieve free internet access. You can set up a proxy server yourself or just buy a service.
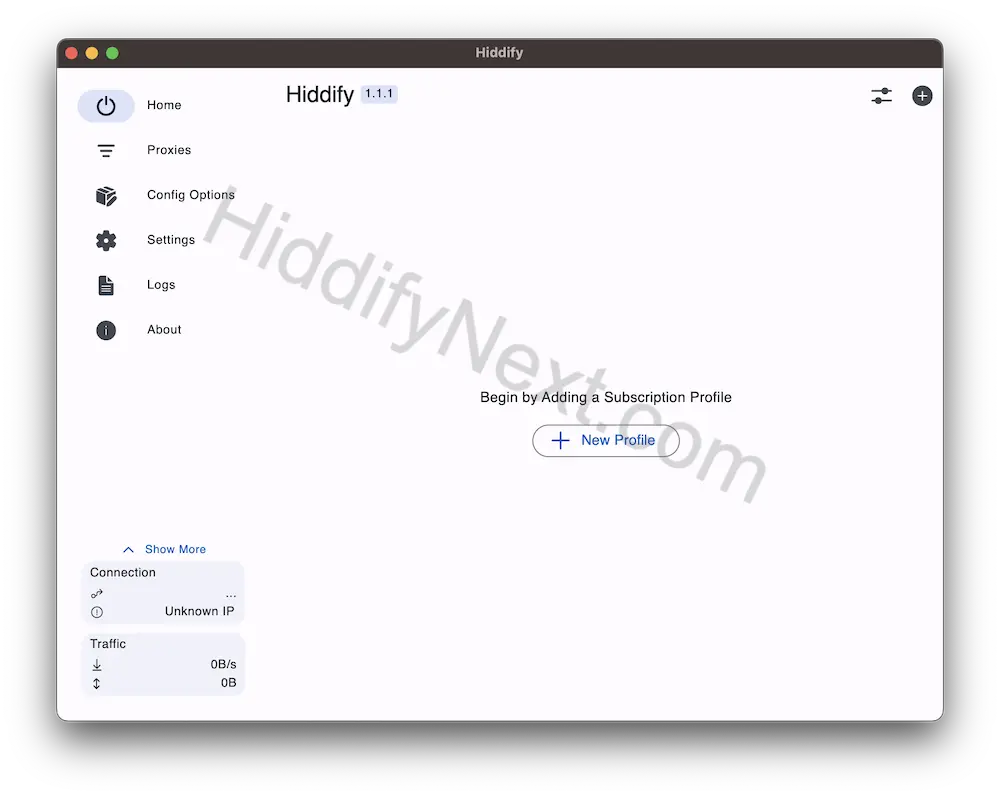
Add Subscription
Click on the New Profile, import the subscription link you just copied
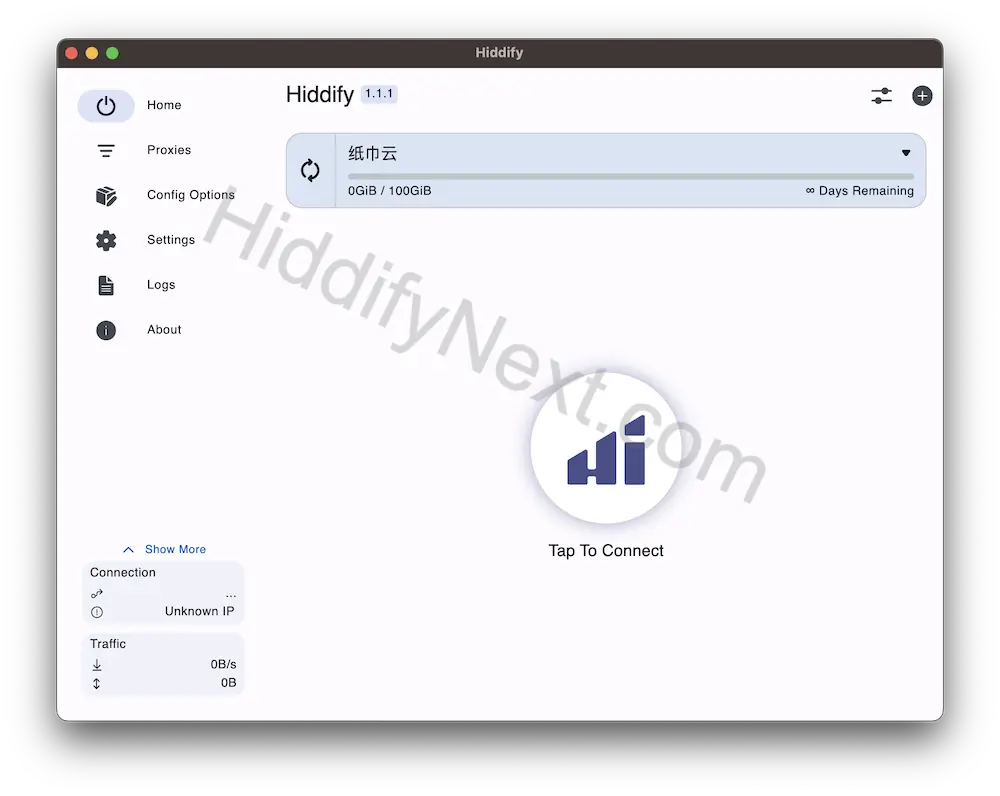
Start the Proxy Service
Click Tap to Connect -> You can successfully start the proxy service
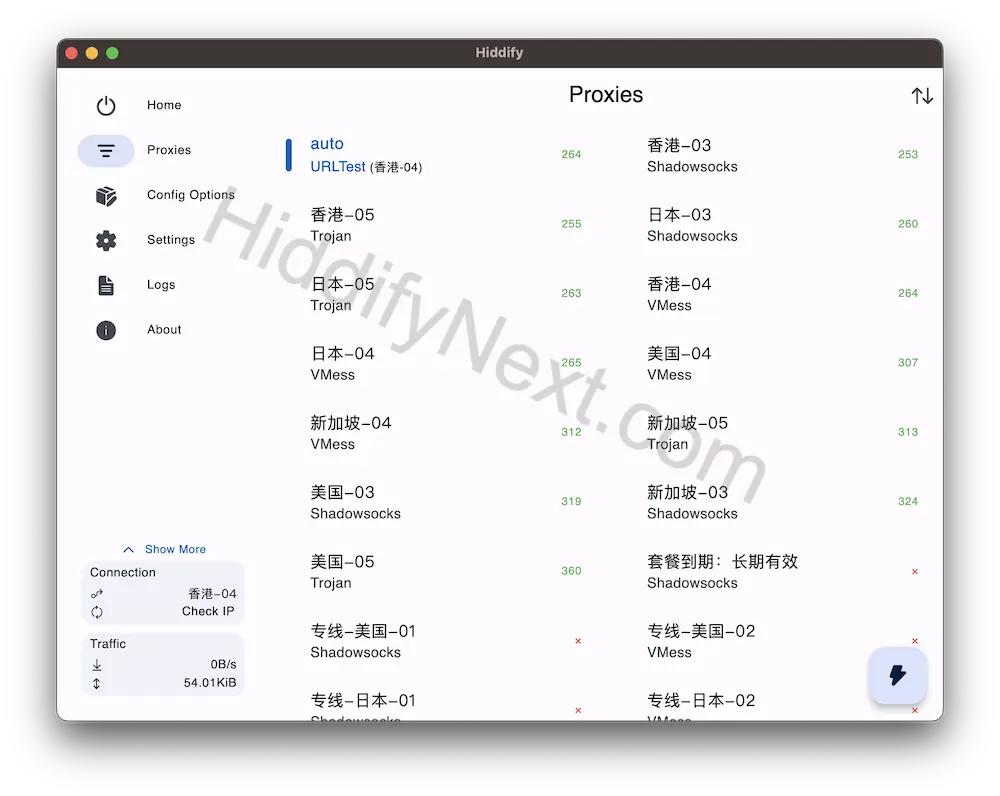
Select a Node
Hiddify Next will automatically test the speed and select the corresponding node, but you can also choose your desired node in the proxy settings according to your needs
More Configurations/Settings
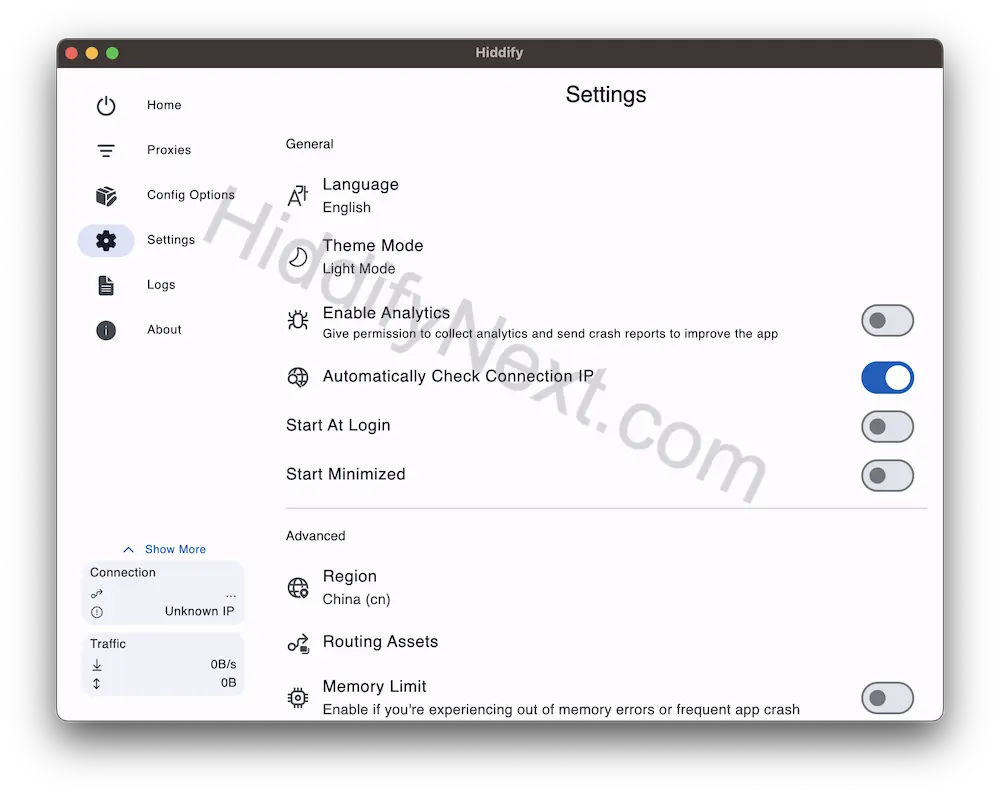
If you have other requirements, such as changing the theme, language, proxy mode, etc., you can set these in the configuration options and settings on the left.
Leave a Reply